Wednesday, April 10, 2024

Portable Ligny - Looking Back...

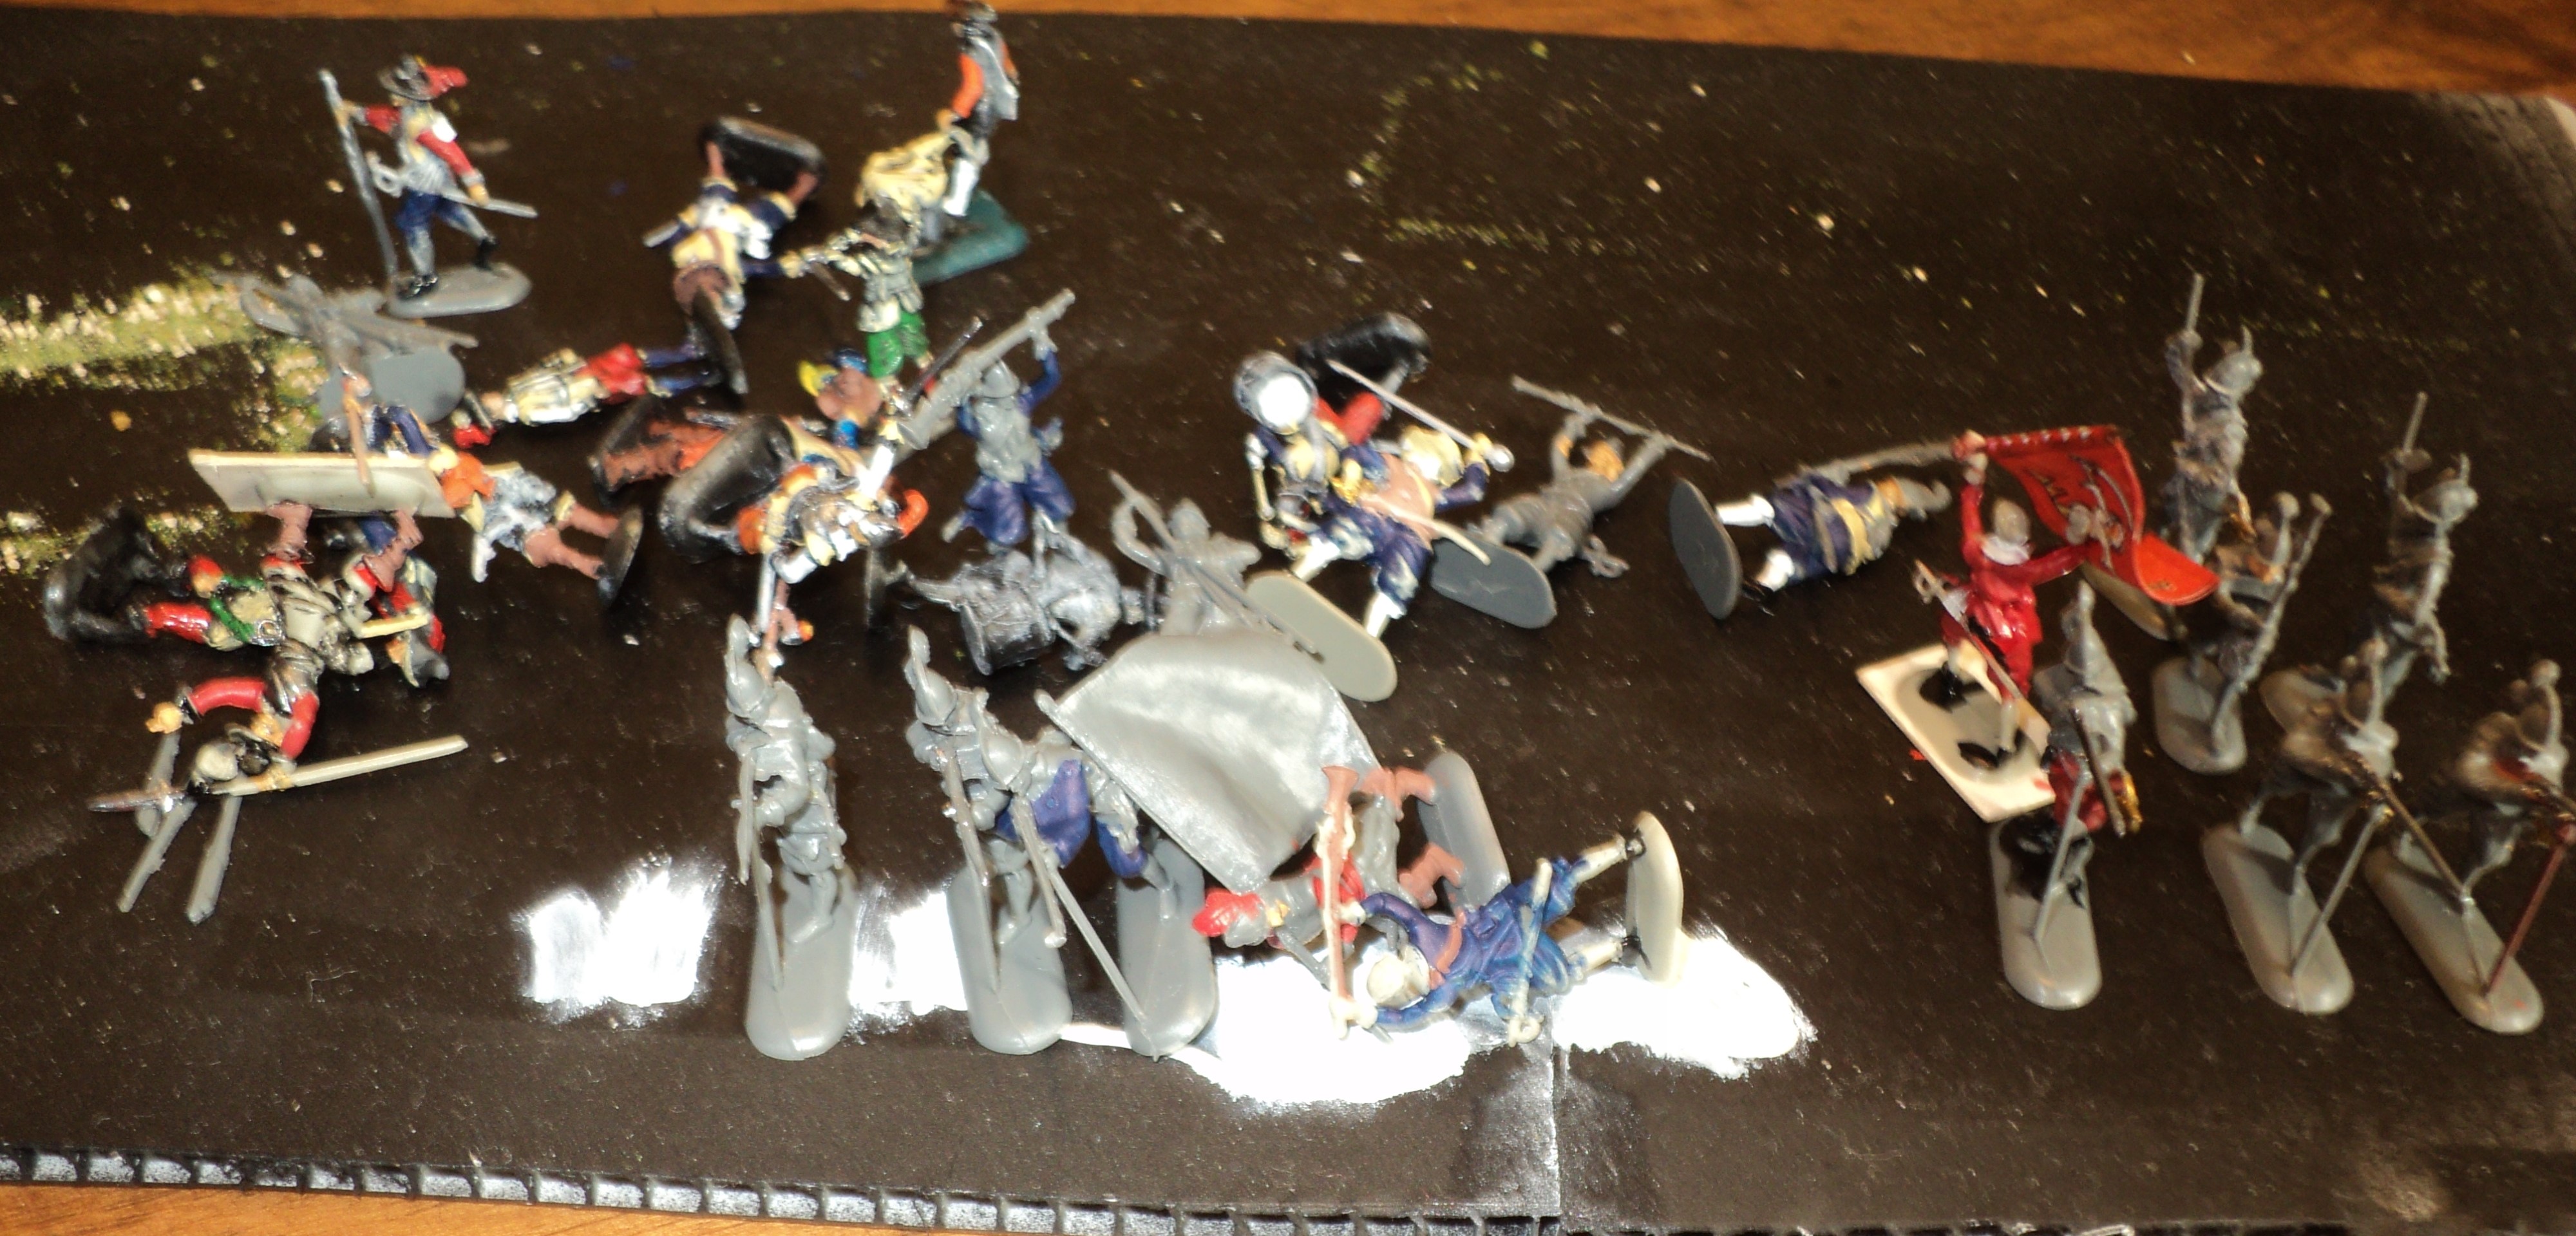
It was whilst reading Marin Rapier's own One Hour Ligny, and how that Portable Wargame went, that I began to look back at my own version, played out some 18 months back. Although the outcomes were rather different, both games indicated that the Armee du Nord had no easy time of it edging the Prussian army behind the Ligny Stream.

The big difference is that Martin played his action out on a 9x9 hex board; mine was on a 15x12 array - in numbers hex-grid cells, twice as large. His game took an hour to play, apparently; mine a deal longer (though I was in no mad rush at the time).

Looking back, though,  I discovered that for some reason I had omitted to append my Orders of Battle for this action on my 15x12 hex-board. The omission was probably deliberate, though I can't really think why, now. I thought what I would do is piece together the OOB for both sides and link back - for anyone interested in checking out the narrative. Here we go:


Armee du Nord:

Commander: Emperor Napoleon = 6SP
III Corps: General Vandamme = 3SP
7th Division (attached from II Corps) - 2 stands (@ 4 figures), 3SP + 5SP = 8SP
8th Division - 2 stands, 6SP + 5SP = 11SP
10th Division - 2 stands @ 6SP = 12SP
11th Division - 2 stands @ 4SP = 8SP
3rd Cavalry Division - 1 stand (@ 3 figures) = 3SP
III Corps Artillery - 1 stand = 2SP
        Total Corps = 47SP

IV Corps: General Gerard = 3SP
12th Division - 2 stands, 4SP + 2SP = 6SP
13th Division - 2 stands @ 4SP = 8SP                                                                                                          14th Division - 2 stands @ 4SP = 8SP
7th Cavalry Division - 1 stand = 2SP
IV Corps Artillery - 1 stand = 2SP
        Total Corps = 29SP

VI Corps: Count Lobau = 3SP
19th Division - 1 stand = 4SP
20th Division - 2 stands @ 4SP = 8SP
21st Division - 2 stands, 3SP + 2SP = 5SP
VI Corps Artillery - 1 stand = 2SP                                                                                                                         Total VI Corps = 22SP

I (Light) Cavalry Corps: General Pajol = 3SP
4th Cavalry Division (Hussars) = 3SP
5th Cavalry Division (Lancers) = 3SP
        Total I Cav Corps = 9SP

II (Dragoon) Cavalry Corps: General Exelmans = 3SP
9th Cavalry Division = 4SP
10th Cavalry Division = 4SP
        Total II Cav Corps = 11SP

IV (Heavy) Cavalry Corps: General Milhaud = 3SP
13th Cavalry Division = 3SP
14th Cavalry Division = 3SP
        Total IV Cav Corps = 9SP

Imperial Guard: General Drouot (vice Marshal Mortier) = 3SP
Old Guard - 2 stands @ 4SP = 8SP (Elite)
Middle Guard - 2 stands @ 4SP = 8SP (Elite)
Young Guard - 2 stands @ 4SP = 8SP (Elite)
Guard Heavy Cavalry = 2SP (Elite)
Guard Artillery = 3SP (Elite)
        Total Imperial Guard = 32SP

Total Armee du Nord:
Command = 27SP
Horse = 27SP
Foot = 102SP
Guns = 9SP
Grand total = 164SP


Prussian Army:

Commander: Generalfeldmarschall Furst Blucher von Wahlstatt  = 6SP
I Army Corps: Generalleutenant von Ziethen = 3SP
1 Brigade:
    2 line regiment stands @ 3SP = 6SP (average)
    1 landwehr regiment stand = 3SP (poor)
2 Brigade:
    1 line regiment stand = 3SP
    2 landwehr regiment stands @3SP = 6SP
3 Brigade:
    2 line regiment stands @3SP = 6SP
    1 landwehr regiment stands = 3SP
4 Brigade:
    1 line regiment stand = 3SP
    1 landwehr regiment stand = 3SP
I Corps Cavalry:
    2 Cavalry Brigades @3SP = 6SP
I Corps Artillery = 2SP
        Total I Army Corps = 44SP

II Army Corps: 

Generalmajor von Pirch = 3SP

5 Brigade*:

    2 line regiment stands @ 3SP = 6SP (average)
    1 landwehr regiment stand = 3SP (poor)
6 Brigade:
    2 line regiment stand @3SP = 6SP
    1 landwehr regiment stands=3SP
7 Brigade:
    2 line regiment stands @3SP = 6SP
    1 landwehr regiment stands = 3SP
8 Brigade:
    2 line regiment stand @3SP = 6SP
    1 landwehr regiment stand = 3SP
II Corps Cavalry:
    1 Cavalry Brigades = 3SP
    2 Cavalry Brigades @ 2SP = 4SP
II Corps Artillery = 2SP
        Total II Army Corps = 48SP

III Army Corps: Generalleutenant Graf Bulow = 3SP
9 Brigade*:
    2 line regiment stands @ 3SP = 6SP (average)
    1 landwehr regiment stand = 3SP (poor)
10 Brigade:
    1 line regiment stand = 3SP
    1 landwehr regiment = 3SP
11 Brigade:
    2 landwehr regiment stands @3SP = 6SP
4 Brigade:
    1 line regiment stand = 3SP
    2 landwehr regiment stands @ 3SP = 6SP
III Corps Cavalry:
    2 Cavalry Brigades @3SP = 6SP
III Corps Artillery = 2SP
        Total I Army Corps = 41SP

Total Prussian Army:
Command = 15SP
Horse = 19SP
Foot = 99SP
Guns = 6SP
Grand total = 139SP

Notes:
1 French infantry stands were Brigades, Prussian infantry, regiments.  The Strength Points represented infantry battalions. Note that the Prussian Brigades were the equivalent of French Divisions.
2. French cavalry stands represented Divisions, the Prussian cavalry, Brigades. The Strength Points were allocated per 4 squadrons.
3. In connection with the cavalry I ought probably to have included the cavalry squadrons attached to the Prussian infantry Brigades. This would have added 2SP of cavalry to each Army Corps, bringing the total to 25SP. I would probably have, by each corps, brigaded these together as  2SP units.
4  At 4 infantry figures and 3 cavalry to the stand, the French fielded 100 infantry, 27 cavalry, 9 gunners plus command figures at Army, Corps and Divisional level
5. At the same ratios, the Prussians fielded 132 infantry, 21 cavalry, 6 gunners plus command figures at Army, Corps and Brigade levels. Probably at least 1 more gunner ought to have been added to each of the Prussian artillery stands (3SP each instead of 2) 


Links to the Ligny battle featuring these army lists:

1. Portable Ligny - Heads Up

2. Portable Ligny - Opening Moves   

3. Portable Ligny - The Battle

4. Portable Ligny - Debrief

Wednesday, March 27, 2024

Shambattle - the hex version

 I discover that I can not be relied upon to follow through on my undertaking. Late last year I played out an exciting Shambattle action on my square grid table. I was supposed to play out a similar action/ campaign on my hex-grid table, but somehow, that never happened. It whilst looking up the game that didn't happen that I discovered it didn't happen. Here is the map to remind readers...


I'll see if I can't bring this one on in the next few days.

Oh yes: today arrived the final consignment of Samurai infantry.  These will become the Light Blue Clan, with this lot...

30YW Work In Progress

 I've been spending a good deal of the last fortnight 'finishing off' my long neglected 30 Years' War project - begun maybe 30 years ago.  It kinda went into limbo when I made the monumental blunder of converting the thing from my own system (down to my own rule set) into DBR format.  That might have been OK had DBR been properly 'finished' (in my view), and had that game system retained its following at the club. It wasn't, and it didn't. 

But I have always intended at some time to revive the project, and the publication of the Portable Pike and Shot Wargame rather inclined me to do something about it. But, there as the small matter of the unexpected Sengoku rule set... 

At any rate, I can point to considerable progress on the 30YW front.  The Swedish have some cavalry now, and many of the unconverted troops have been rebased and the bases flocked. 


A few Swedish cuirassiers and pistoleers. The cuirassiers
I suspect are more in the way of allies.

The Swedish pistoleer cavalry units will comprise 4 stands (elements) of 3 figures each - 12 figures. There are six such units.  For battlefield purposes, they may be spit into 2-stand tactical units. The Cuirassier units each comprise 2 stands of 3 figures.  I have 2 such units done, but they may get 2 more. The Swedes will also have a unit of harquebusiers - probably allies, such as Saxons.

The bulk of the Swedish charging cavalry. I've 
not worried over the correctness of the flags -
so long as they belonged (more or less) to the right army.

Imperialist horse: cuirassiers.
At the moment the Imperialist cuirassiers are in 3-stand (9-figure) units. The original idea was that the Imperialists would favour the deep columns that formed Graf zu Pappenheim's method of cavalry warfare. However I'm thinking of their being reduced to 2-stand tactical units, they being split from 4-stand regiments.
Imperialist harquebusiers and, behind them,
'commanded' musketeers
The Imperialist harquebusiers - pistol bearing horse, are to be 9-figure (3-stand) units, appearing as 3 ranks of 3.  These represent the deep pistoleer columns fighting by caracole. In my original set of rules, my Imperialist horse were to form 2 shooting ranks of 6 figures each; the Swedish just one rank, but of 8 figures. Shooting was by single rank, but it would take a whole move to reload. Howver, the existence of a second rank permitted the unit to shoot every move. Given the chance the Swedish cavalry would move into contact with the sword without shooting, and counting the two extra front rank figures as overlaps.

How the Portable Wargames version will play out may be something like what happened in this action, but it requires further examination, I think.
Artillery limbers. 
At the moment, my Imperialist foot are made up of several 6-stand 'battalia' comprising 8 pikemen and 12 musketeer figures. At the moment I have 8 such units. In addition are 12 elements of 'commanded shot', forming 6 2-stand units.
Imperialist foot: units of 4 musketeer stands (12 figs) 
and 2 pike stands (8 figs) each

Below: Swedish foot - 7 battalia of 20 figures (6 stands) each, plus 4 commanded shot units of 6 figures (2 stands) each.

Swedish battalia - 6 stands, 20 figures -
same as the Imperialists

More Swedish battalia

Swedish 'commanded shot' - 4 of 8 stands in 
2-stand units


In front of the Green Regiment, 2 more 2-stand 
units of 'commanded shot'.

Both armies may field a couple of stands of dragoons. For these I used the kneeling figures firing light muskets/ carbines (?) plus a command figure, of which Revell has given a lavish supply. Unfortunately, some time in the intervening 30 years, one of these fellows has gone walkabout, vanished, completely disparoo. So one of the Imperialist stands has just the two shooting figures. If there happens to be - if a scenario calls for - some qualitative difference between the two stands, guess which will be the poorer.

Imperialist dragoons
The dragoon stands are much deeper than the other foot stands in order to include the horsed figures that identify the stands as dragoons.
Swedish dragoons
There follow some command stands. These have only a 4cm (instead of 6cm) frontage, and they can be attached to other units. At the moment they are still 'works in progress'. The stands with the flags are to be the Army commanders' stands. 

A couple of Imperialist command stands

A couple of Swedish command stands

I plan on adding a couple of stands each of commanders on foot.  If I can find the spare mounted command stands, both armies will receive one more of them.
Foot figures as yet unassigned. I imagine some will
form for each army a 'forlorn hope'.

Mounted figures and artillery - still to be sorted out.

Finally, there remains a fair number of figures to be sorted. One more 9-figure unit of Imperialist pistoleers has been determined, and there are more cuirassiers to be assigned an army (probably Imperialist).  Artillery, too, are a long way short of 'finished'. Finally, those officer figures in the foreground will most likely end up as 'generals of foot'.


Saturday, March 16, 2024

Siege of Osaka: The Battle Among the Tombs...


Well over a month ago, in an earlier posting on this Sengoku project, I foreshadowed an account of a table battle using a very slightly modified Portable Wargames rule set and the set-up of a Samurai Battles scenario for the Siege of Osaka: Battle among the Tombs, 1615. The board you see in the picture is home-made, and has the same dimensions as the Samurai Battles game system.

From an historical perspective, this battle followed immediately on from a previous action on the near side of river you see in the picture, over and around a ridge line just off the near edge of the map (see Sengoku Interlude for the historical background, and the battle). Following that action, the army of Tokugawa forced its way across the river to be once more brought to battle by the Osaka Clan.


These armies were very nearly equal in size and strength, the only difference being the mounted samurai unit under the direct command of Tadamasa himself. Here's the list:

Army Tokugawa:

1 Mounted Samurai unit @ 3SP (Strength Points) Elite
1 Mounted Samurai unit @3SP Average
2 Foot Samurai @ 4SP Elite (close combat weapons only)
2 Ashigaru Yari (Spear) @3SP Avg
2 Ashigaru Yari @3SP Poor
2 Ashigaru Tepo (Shot) @2SP Avg
1 Ashigaru Yumi (Bow) @2SP Avg
Army Command Tadamasa (with elite mounted samurai)
Sub-command Tatsaki (with poor the ashigaru yari unit fording stream)

11 units + 2 Commanders => 3 Activation dice.
Total 32SP: Exhausted after minus 11SP; rout after minus 16SP.

Army Osaka:

1 Mounted Samurai unit @3SP Elite
2 Foot Samurai @4SP Elite (close combat weapons only)
2 Ashigaru Yari @3SP Avg
2 Ashigaru Yari @3SP Poor 
2 Ashigaru Tepo @2SP Avg
1 Ashigaru Yumi @2SP Avg 
Army Command Sanada (with mounted samurai)
Sub-command Susukida (with foot samurai on left flank)

10 units + 2 commanders => 3 activation dice.
Total 29SP: Exhausted after minus 10SP; routed after minus 15SP.

Getting up early in the morning, Army Tokugawa is in the process of crossing the Ishikawa stream. Having established a line on the far side, the rear elements are still crossing at the fords. Tadamasa himself is still some distance short of the right hand river crossings. As the situation seemed to be one in which who has the initiative is in doubt, I rolled to determine who opened the ball.  The White dice are Tokugawa; the Green, Osaka. 

A glance at the leading picture will reveal that winning the initiative roll did Tokugawa's army no good; a completely woeful score for activations. The number of units to be activated is the dice score divided by two, remainders ignored. Well, he could have done worse, but two units out of 11 to move, and the whole army not yet up, the most sensible course seemed to me to bring some of the laggard units into line.


The Osaka roll in reply proved almost the exact reverse of the Tokugawa: two fours and a six, divided by two: seven units activated.  At once, the left of the Osaka line surged forward to close the distance to the enemy.... 
... and then Osaka seized (won) the initiative (roll). although the activation dice were moderately disappointing - just 4 units could be activated this time - they were able to engage the enemy not far from the river crossings. Susukida's foot samurai struck a unit of arquebusiers (ashigaru tepo). 


The combat dice below tell the story. Requiring a 5 to hit, the ashigaru didn't come close. But the two rolled by the samurai added for the superior weight (two 'grades' +2) and the general with the unit (+1) came to 5.  Having already hit the gunners once, this second blow wiped out them out, opening up a gap in the Tokugawa line.


The Tokugawa army response, with 5 units to be activated, was to set the shape of the whole battle for the duration. 11 rolled - 5 units activated...

... The order went out to Tatsaki on the left to  push forward and roll over the rather weak Osaka right wing, close by the Tomb of Emperor Ojin (represented by the Memorial Gate in the pictures). The attack scored an immediate success, the Osaka foot samurai here taking a hit. This left Tokugawa just enough initiative in the main battle to restore the gap in the line, and to bring his own mounted samurai across the river.


The action was becoming general all along the Tokugawa centre and left, and losses were beginning to mount, too. Apart from the loss of a unit of arquebusiers, the bowmen had been reduced by half its strength, and one of the better quality spearmen had also taken losses. On the whole, the Osaka army was coming off rather better from the close quarter fighting. On the extreme left, their own ashigaru yumi had enveloped the Tokugawa line, flanking Tokugawa's bowmen.


Luck came at least partially to the aid of the yellow flags: a fine activation roll bringing 7 units into the action. Tokugawa was able to bring on a general battle all along the front line.  This was helped by winning the next initiative roll, which, with activations for 5 units, seemed to indicate matters were going well for Tokugawa.


Losses had indeed been fairly heavy on both sides. So far, Tokugawa was enjoying the greater success on their left, at this point having knocked off 2SP from their opponents at no loss to themselves.  The main battle, however, was going less well. Osaka had to mourn the loss of two further SPs, but Tokugawa had by now lost 5. 

Fortunately Tadamasa could now call up the second unit of mounted samurai towards the main action (though he might instead have reinforced what success the Tokugawa army had so far enjoyed, to push on the left).

For their part, Osaka were inclined to leave the isolated pair of units on the right to look after themselves whilst the main army concentrated upon the foes to their front. In their own activation roll, 4 out of 5 points available went to this front. One of those went to the private battle far out to the Osaka left between the respective bow units.


However one activation point was spared to bring forward the foot samurai on the right to engage against the odds the Tokugawa left.


Tokugawa's activation roll - 9/2 -> 4 units, was spent mostly in engaging the enemy, and was successful in driving them back in the centre, but without doing much real harm.


Then the effort to wrest the initiative came to something of a lull on both sides, Tokugawa managing to activate just three units.  At this point the situation was becoming rather worrying for the Tokugawa army, having by now lost 7SP - 4 of them from units destroyed - to just the 4 from Osaka. One of the two destroyed units was the the unlucky bowmen on the right, freeing up the Osaka unit that defeated them. None of the Osaka units had yet been destroyed.

On the other hand, the Green activation roll turned out to be equally dismal. Their line had been pushed back a little, and could not have been easy to restore...
...But then the Osaka army once more found their impetus, winning the initiative roll back again, and 5 units activated. Two units swung off to the left to take on and isolate the Tokugawa samurai not far from the Emperor Ingyo tomb. On the other flank, the Tokugawa spearmen there were finally scattered, and the arquebusiers reduced as the Osaka men there continued to defy the odds against them.


Tokugawa were certainly getting much the worse of the fight, as losses continued to mount. Outmatched by their Osaka adversaries, they had by now lost 12 SPs.  The exhaustion point reached, there could be no further attempt to assault the Osaka line. For their part, Osaka's losses were barely half their foes', and they were determined to push their victory home.


The tide of battle going against Tokugawa, their commander, Tadamasu, at once ordered his army to break off the action: he 'won' the initiative roll. With a fine activation roll, that bid fair to bring off his army without much further loss. Units still in contact with the enemy were left to fight on, whilst the unengaged units drew off.

In fact, must of the army was thus enabled to break clear, putting some distance between themselves and the victorious Osaka army.  There remained the isolated, and somewhat depleted samurai on the Tokugawa right, a unit of spearmen covering one of the river crossings in the centre, and another depleted unit - arquebusiers - on the extreme left. 
The fate of the last of these was quickly sealed, though they fought valiantly until the last, even managing briefly to drive off some of their assailants.
Their retreat towards the river was, however foredoomed. With little enough to do but watch their defeated foes retreat into the distance, Sanada's mounted samurai fetched a hook into the arquebusiers' rear, whilst the foot samurai returned to the frontal attack. The final few pictures tell the story.  The surrounded ashigaru even managed to knock holes in the mounted samurai unit (Sanada himself remaining uninjured). 
The isolated Samurai on the other flank soon also broke off the action, though their way back to the army, cut off as they were from the river crossings, might have been problematical.  
The final action of the day found Osaka samurai catching up with an ashigaru unit holding the east-most river crossing, and, at some cost to itself,  putting a quick end to it. Thereafter, the remains of the Tokugawa army made off as bets it could.
This was a resounding victory for Osaka - as unexpected as it was decisive.  Fifteen SPs the Tokugawa lost,1SP short of routing. Four units were destroyed. Osaka lost 10SP - and not a single unit destroyed.  In a campaign, this would amount to a disaster for Tokugawa Ieyasu.


This was one battle in which the initiative swung back and forth, both sides getting a fair share of two-in-a-row moves. Possibly the damage was done when Tokugawa's first activation roll was so miserable, and there was at least one other occasion when a mediocre roll left Tokugawa, with plenty to do, lacking the resources to do them.  That the first initiative roll went Osaka's way, following a superb score in response to Tokugawa's opening, perhaps already the latter was reading the 'epimural' script.

Just a reminder of how activation rolls are determined, I have modified (very) slightly the system in the Portable Pike and Shot book. Permitting one general - excluding army command - for each whole multiple of 6 units, both armies received 2 activation dice for the 2 generals allowed to both armies. A further activation dice was allowed for each whole multiple of 6 units. As both armies fell short of the whole dozen of units (generals don't count as units) both received one more only. Both therefore received just 3 activation dice. 

As it turned out, as no generals were lost, and not quite enough on the Tokugawa side to bring them down to fewer than 6 units, neither side suffered an attenuation of their available activation dice.

Altogether, this was probably the most exciting Sengoku battle of my series to date. 


Wednesday, March 6, 2024

Thirty Years' War: Work in Progress

What's in front of where I an sitting right now
Reading another blogger's progress 'decluttering' in preparation for moving house, I bethought myself of the chaos I present here. Good morning Bob! This is my working upon completing and sorting out my long neglected Thirty Years' War (30YW) project. In front of me there's 60 horses, 22 riders, 16 figures for a couple of pike blocks and a couple of musketeers...
Early morning cuppa...


The board I used for spray undercoating
Guns, including a little battalion gun(one of five) for the Swedish Army. I have 9 Revell cannon, of which probably 5 will go to the Imperialists (Austereia), 4 to the Swedes (Severeia) along with the 5 battalion guns.There are also on this board 38 horsemen, 9 artillerymen,  and an overlooked horse...
More horsemen. The polystyrene board on the left houses a whole 
other project. That really ought to be decluttered!

Bur wait!  There's more: 33 more horses and their riders... I quick estimate indicates I have over 250 horse to distribute between the two armies. The Imperialists are slightly the larger force, but the Swedish, supposedly, the harder hitting


Finished Imperial stands of horse and foot, and, in the smaller box, some commanded musketeers...


Yet more horse - 49. Finished, but never properly based upon their 3-figure stands..  Most of these will fetch up in the Swedish army.
Oh yes: the chessboard. For analysing my online 
games. I no longer play 'real time' but more in the 
way of 'correspondence chess'.

Another view of my desk top. I am starting to form the habit of listening to stuff on YouTube and elsewhere whilst painting stuff.
  
Among the clutter, an almost finish 6-figure unit of Imperialist pistoleers ('Dutch cavalry' under the Portable Pike &Shot Wargames convention...


... and here, in front of some scattered Swedish pikemen, a 6-figure unit of Swedish Cavalry, counting as 'Swedish Cavalry' under the PP&S Wargaming convention. 

When I began this project, I had the numbers - the whole aimed-for armies -  clear in my mind, and I was able to get the figures for those numbers. Unfortunately I have after near-on 30 years no clear memory of the numbers involved. I think the Imperialist army was going to have 188 foot and 120-odd horse, not counting command stands, plus 5 cannon. Something over 300 figures. The Swedish were to be a deal smaller - a little south of 300 figures, at any rate. As the project now stands, the latter will comprise, apart from the horse, seven 20-figure battalia (140 figures right there), with several 6-figure (2 stand) units of commanded musketeers. I have yet to decide whether the kneeling fellows with light muskets/carbines(?) will be dragoons and forlorn hope, or that the forlorn hope to be a line of single commanded musketeer stands. 

Now, I'll have to sort out who goes where...